Implement in-app purchases in React Native: How To Use RevenueCat

Implementing in-app purchases is a long and difficult process in app development. Specifically, dealing with the big and small operational differences in the iOS and Android ecosystems is enough to give new and experienced developers a hard time. But the difference in behaviour and requirements are not the only difficulty, as dealing with native code can be a huge blocker in a React Native team.
Comes RevenueCat, a solution that promises to provide a backend and a wrapper around the iOS and Android billing systems, to help make implementing in-app purchases and subscriptions easy. RevenueCat comes with a React Native library that hides the complexity of the differences between the iOS and Android platforms behind its wrapper.
In this article we will dive into setting up subscriptions and in-app purchases using RevenueCat, from setting up the data in the library's dashboard to implementing it in an existing React Native app.
Setting up the backend
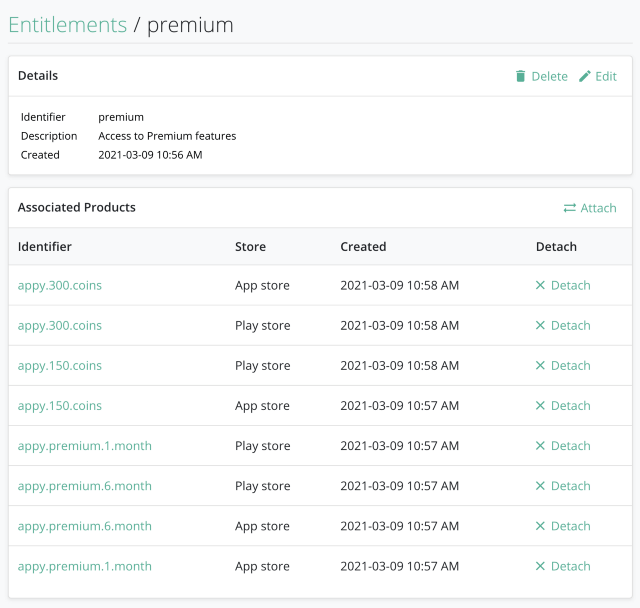
The main goal of RevenueCat is to streamline the different ways subscriptions and purchases are implemented in the Google and Apple ecosystems. In that sense, it comes with its own naming system to help with setting up the different products.
- Products are the main element your users are going to purchase: Be it a month-long subscription or a one-time item.
- Entitlements represents a level of access, a "role" your user has been granted to. A premium status, for example.
- Offerings are the selection of products that are displayed to your user. One could be the combination of a 1-month subscription and a 6-months subscription, another one could add a lifetime subscription to the same list.
Let's pretend we have the following products we'd like to implement:
- A 1-month subscription, a 6-months subscription. (Giving access to the premium entitlement)
- 150 "AppCoins" and 300 "AppCoins". (The virtual currency of our app)
After setting up the different products and SKUs in the Apple Store and Google Play consoles, we are setting them up accordingly in the RevenuCat dashboard. Each identifier is linked to the corresponding products in our Google and App Store backends.
Implementing the library
First of all we need to install the React Native SDK with npm.
$ npm install --save react-native-purchases
If you're using React Native 0.60+, all related cocoapods and gradle dependencies will be installed automatically. You can handle it manually like the doc explains here.
On Android, do not forget to include the BILLING permission in your AndroidManifest.xml file, like so:
<uses-permission android:name="com.android.vending.BILLING" />
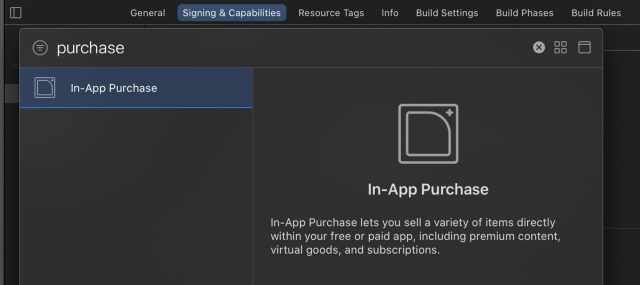
On iOS, you need to enable the In-App Purchase capability. On Xcode, go to your project target and Signing & Capabilities. Then select and add In-App Purchase.
Once the library is set up, you will need to initialize it on app launch. The library only needs to be initialized once using your public SDK key found on the RevenueCat dashboard.
import { useEffect } from "react";
import Purchases from "react-native-purchases";
import Root from "./Root";

const App = () => {
  useEffect(() => {
    Purchases.setup("your_public_key");
  }, []);
  return <Root />;
};
export default App;
You can also identify the user and pass its id to the setup method.
Purchases.setup('your_public_key', 'user_id');
With the library and public key set up, you should now be able to get access to your offerings. In other terms, the selection of products you want to display in your app.
By default, you can get access to all your products using the all offering category. All our products will be linked to the relevant data used in the Google and Apple consoles, such as SKUs, prices, and descriptions. The RevenueCat wrapper gives us the getOfferings() method as a way to asynchronously fetch this data from their backend.
const offerings = await Purchases.getOfferings();
const availablePackages = offerings.all.default.availablePackages;
If we have a look at one of the available package, it looks like this:
{
offeringIdentifier: 'appy.premium.1.month',
product: {
description: 'Appy Premium 1 Month',
introPrice: null,
price_string: '5,49 €',
intro_price_period_unit: null,
currency_code: 'EUR',
title: 'Appy Premium 1 month',
price: 5.489999771118164,
intro_price: null,
identifier: 'appy.premium.1.month',
intro_price_period_number_of_units: null,
intro_price_period: null,
intro_price_string: null,
discounts: [],
intro_price_cycles: null,
},
packageType: 'CUSTOM',
identifier: 'appy.premium.1.month',
}
You can now display all these informations in your app.
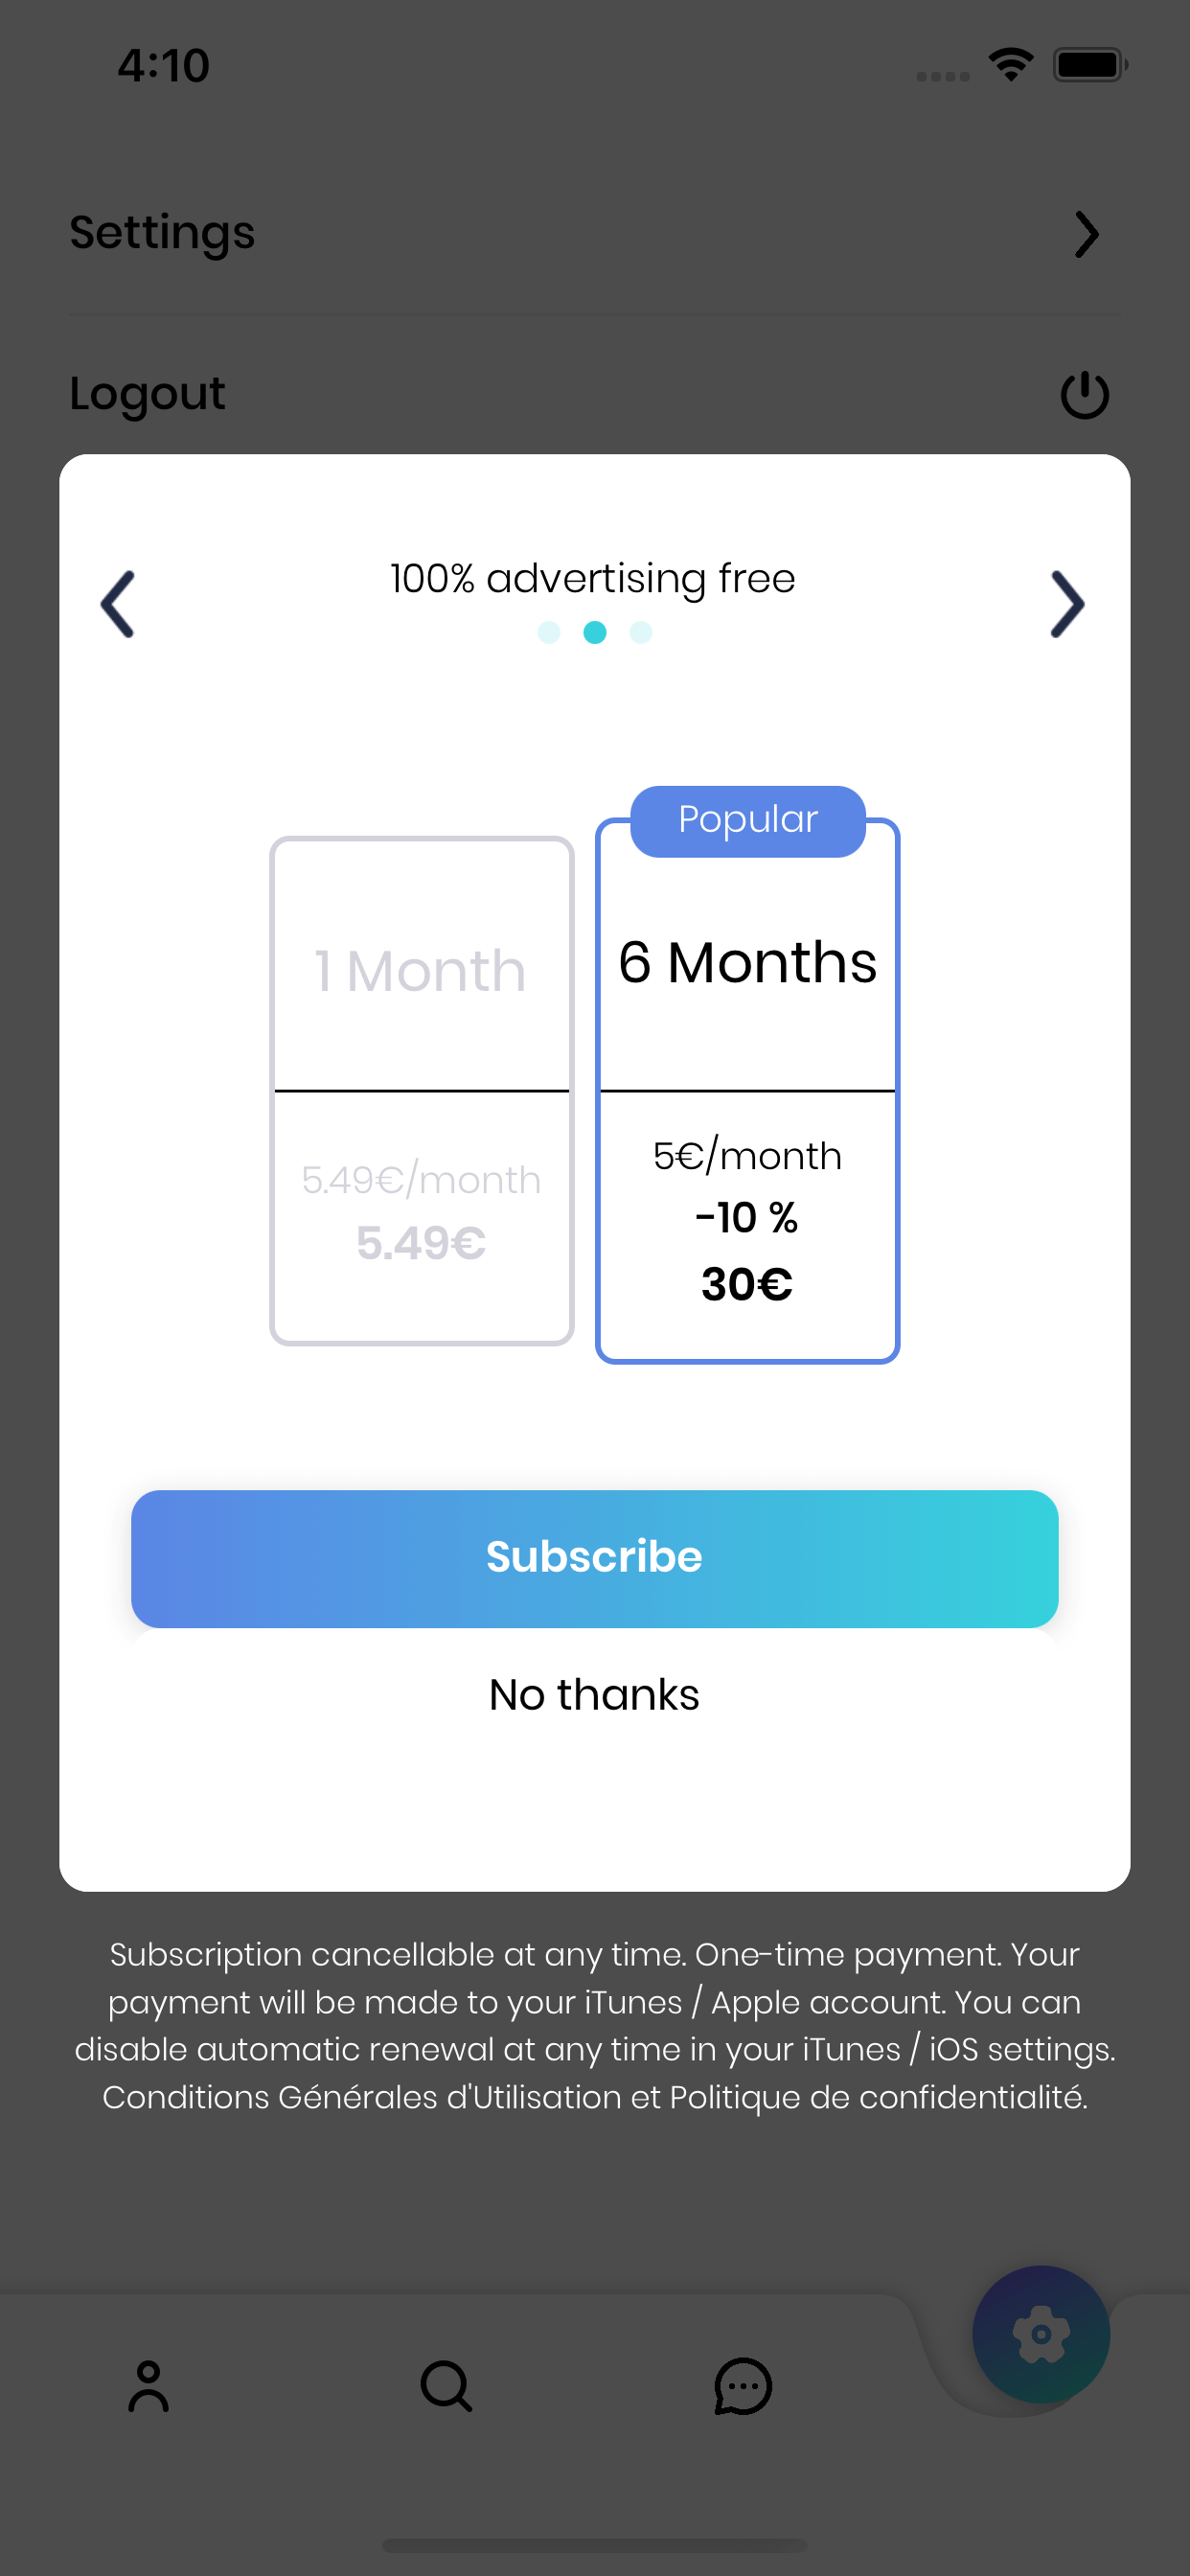
In our subscription screen, we can simply grab the identifier and use the makePurchase() method from RevenueCat to complete the transaction and let the library handle the heavy load of communicating with the Google and Apple servers.
const handlePurchase = async (identifier: string) => {
  try {
    const purchase = await Purchases.makePurchase(identifier);
  } catch (e) {
    console.log("Error:", e);
  }
};
As simple as that. The OS will handle the payment workflow and guide the user through the steps required to purchase the product in your app. Once the purchase has been initiated and confirmed, you can retrieve the subscription status from your user by getPurchaserInfo() method.
const purchaserInfo = await Purchases.getPurchaserInfo();
The latest information about the user's subscription status will be fetched and let you determine which active subscription or product your user has already purchased. An exhaustive list of information is also available from the same object, allowing you to access purchase dates, renew status or other valuable informations.
Wrapping up
In this article, we've only touched the surface what it is possible to do with in-app purchases in React Native, however that should be enough for you to get started and implement a reliable solution into your app.
The strength of RevenueCat lies in the abstraction of the complexity behind the monetization policies of Google and Apple. This aligns very well with the vision of the React Native framework that aims to unify both platforms into a development framework that facilitates velocity and innovation down the line. Happy coding!
If you want to read more about development with React Native, check out this blog post as an introduction to React Navigation modals, stacks, tabs and overlays or this blog post about implementing app rating with React Native: react-native-rate.